In this article, we will be explaining three different ways on how you can sync your contacts from iPhone to Mac, It also looks at why your contacts may not be syncing.
How to Sync Contacts from iPhone to Mac via iCloud
You can simply keep all your contacts up to date on your iPhone and Mac with iCloud. It is easy to sync your iPhone contacts to Mac wirelessly with iCloud, below are steps:
Step 1: On your iPhone: Go to Settings > [Your name] > iCloud > Turn on Contacts option > Select Merge contacts app.
Step 2: On your Mac: Go to System Preferences > Find and open iCloud > Sign in with your Apple ID > Select Contacts to enable it.
After all these process, all your iPhone contacts are synced to your Mac through iCloud.
How to AirDrop Contacts From iPhone to Mac
Airdropping your contacts can be much easier If you only wish to sync a few contacts across to your Mac, rather than your entire contacts list. And here is what to do.
Below are what you will need to do with each contact which is why we only advise it for sharing a few details.
1. On your iPhone, tap Contacts.
2. Find the contact you wish to share and tap it.
3. Scroll down and tap Share Contact.
4. Tap AirDrop.
5. Tap the Mac you wish to share it with.
How to sync contacts from iPhone to Mac without iCloud
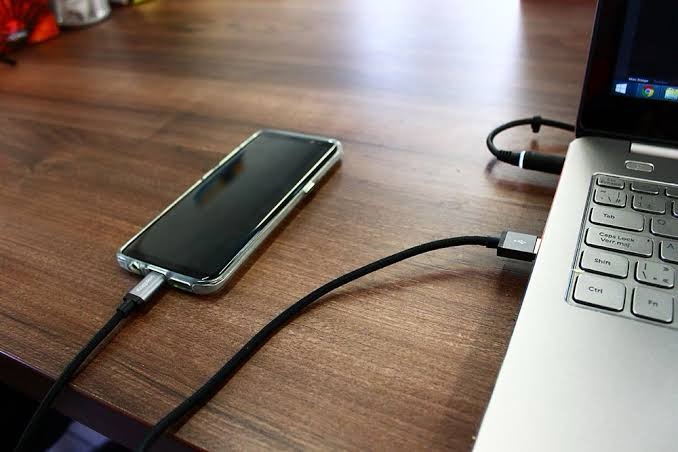
You can simply make use of EaseUS MobiMover to transfer contacts from iPhone to Mac in a readable way for free if your iCloud is out of control or there is no more space for new contact on iCloud. All you need to do is connect your iPhone and Mac through a USB cable, run MobiMover on your Mac, then you can transfer files from iPhone to Mac without iTunes. The supported files by EaseUS MobiMover are:
Audios: Music, Voice Memo, Ringtones, Audiobooks, Playlist
Images: Camera Roll, Photo Library, and Photo Stream
Videos: Movies, TV Show, Music Video
Other: Contacts, Messages, Note, Books, Voice Mail, Safari Bookmark
Below are steps on how you can sync contacts from iPhone to Mac without iCloud;
Step 1:Launch EaseUS MobiMover for Mac on your computer > Connect your iPhone to your Mac > Unlock your iPhone and click “Trust” in the prompt asking for your permission > Choose “Phone to Mac” option > Click “Next” to move on.
Step 2: Check ‘Contacts” > Click the default storage path to set a custom path where you want to store these contacts > Click “Transfer” to start transferring from your iPhone or iPad to your Mac.
Step 3: When the transfer process has finished, you can go to view the contacts on your Mac. (Depending on your settings, the contacts will be saved as an HTML, CSV, or VCF file on your Mac.)
How to Sync iPhone Contacts Using Finder (iTunes)
The only reason why you can only sync iPhone contacts through Finder or iTunes is if you don’t have iCloud enabled for Contacts. Your contacts will automatically be synced If you have iCloud enabled for Contacts on your Mac and iPhone.
- Plug in your phone to your Mac using a Lighting cable.
- Open Finder (Mac OS Catalina or later) or iTunes (Mac OS Mojave and earlier) and click on the phone icon.
- Click on Info.
- Choose Sync Contacts option and click Apply.
Whichever method you choose, it is a good idea to always check that your iPhone is syncing properly to your Mac. This will save you time and frustration later on by protecting your important contacts.
Why Are My iPhone Contacts Not Syncing?
Here are the few reasons If your iPhone contacts won’t sync with your Mac.
You’re offline: You won’t be able to sync your contacts If one or both of your devices are offline, until they have a connection again.
Your devices are logged into different iCloud accounts: In other to sync contacts, You need to have both iPhone and Mac logged into the same iCloud account.
Your iCloud storage is full: If you don’t have enough space on your iCloud storage, you won’t be able to sync your contacts. Clear some space or upgrade your storage to fix the issue.
How to Force Your Contacts to Sync
Open Contacts on your iPhone and then swipe down from the top of the screen to force a refresh, If your contacts don’t seem to be syncing automatically even though it’s set up correctly. Alternatively, try restarting your phone.


