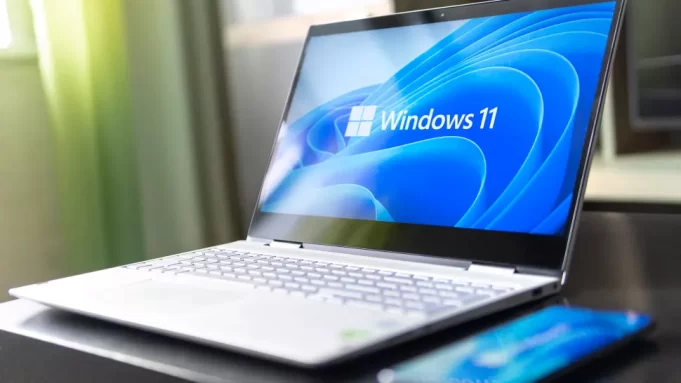
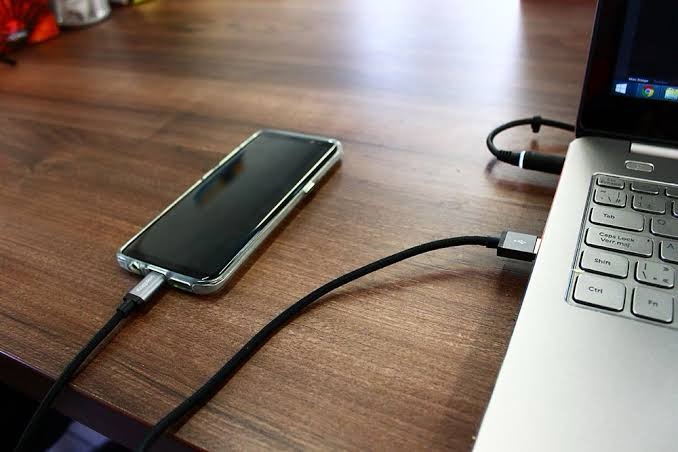
Microsoft has been working on bringing Android apps support to Windows for quite some time now. The effort, internally known as Project Latte, was one of the highlights when the company announced Windows 11 earlier in June 2021. The Redmond giant, however, had to delay the feature, which is why we didn’t see it in action when Windows 11 Launched last year.
In this article, we will discuss the steps to install Android apps on Windows 11 in any region and without any restrictions.
How to Install Android Apps in Windows 11
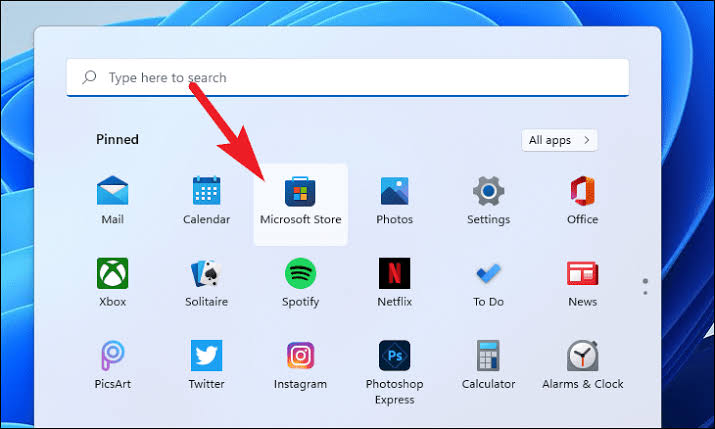
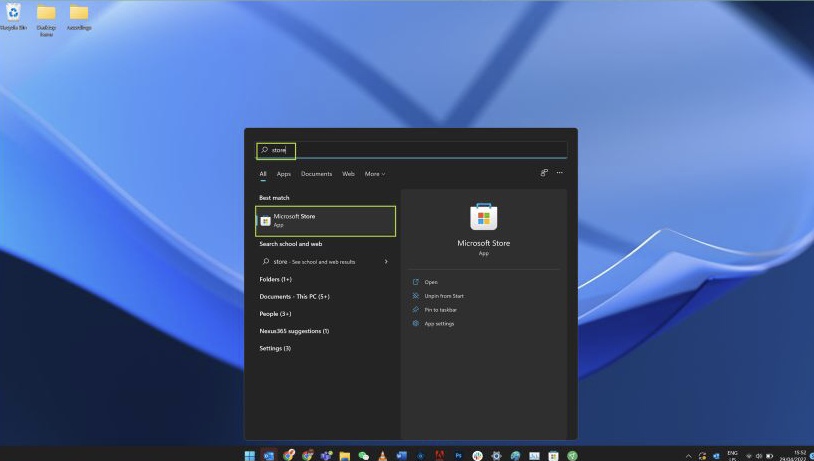
1. The first thing to do is open the Microsoft Store by typing “Store” into the Start menu and clicking it.
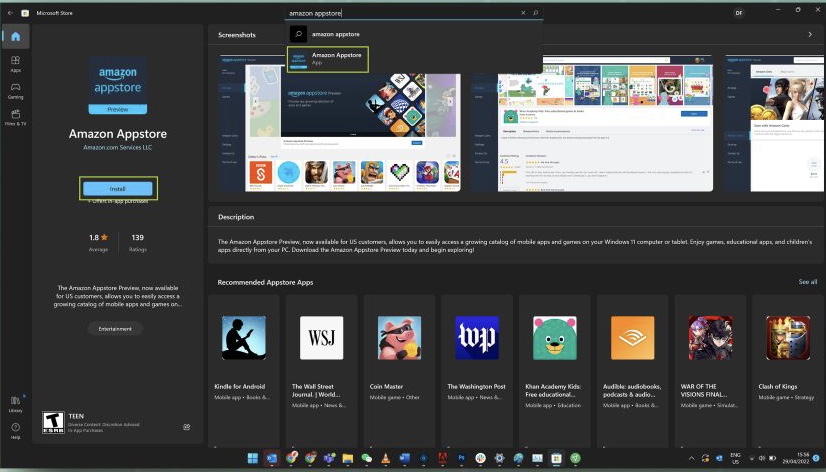
2. Search for “Amazon Appstore” in the Store, Click “Install” to continue.
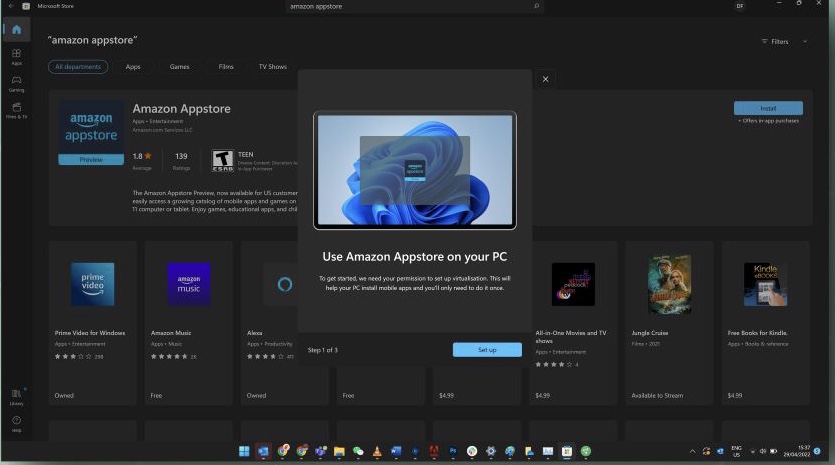
3. After clicking Install, you’ll be asked to install the Windows Subsystem for Android, which is some underlying software that allows Android apps to function on your PC. Click through the first two prompts (Set up; Download) to begin the process, and wait for it to download.
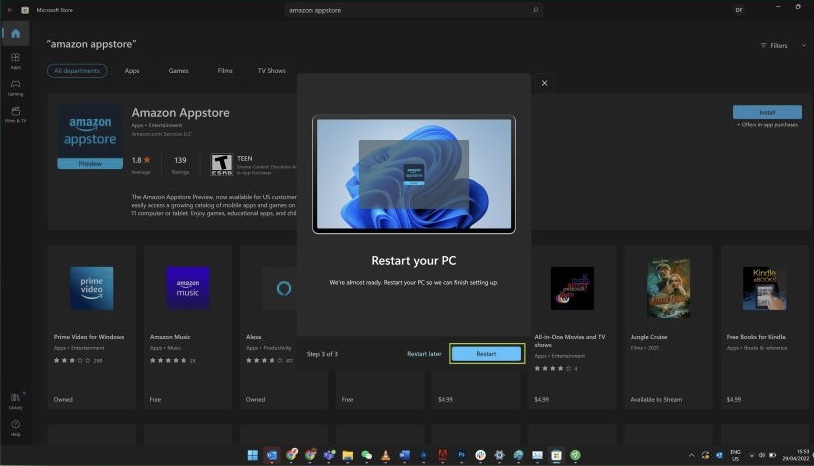
4. Amazon Appstore may automatically open after the restart. If not, you can find it in the Start Menu apps list.
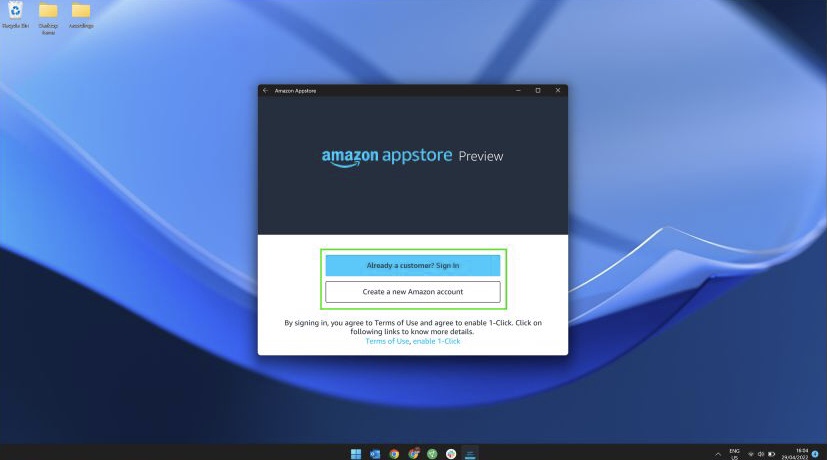
5. The first thing you’ll need to do is sign in to your Amazon account or create an account.
6. Once you’re in, it works just like any other app store you’ve used. You can browse through suggestions or search for something. Either way, choose an app to install.
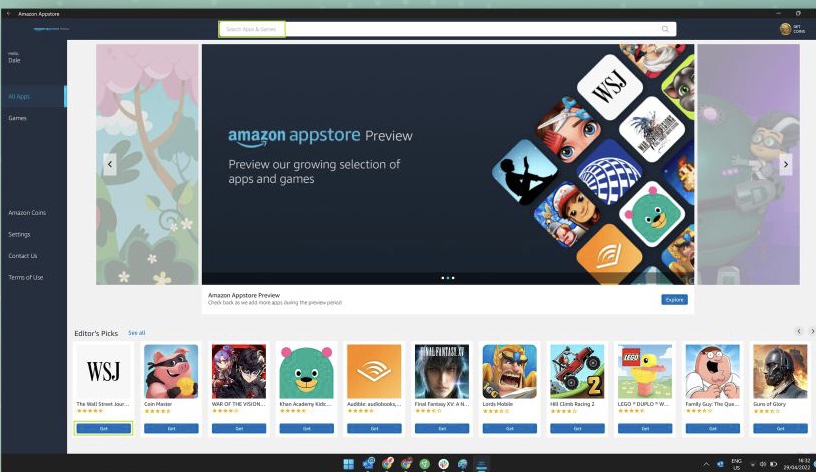
7. Tap “Install” on the app information page.
8. The app will download and then install. When it’s finished, you can click “Open.”
That’s it! You have installed your first Android app in Windows! The Android apps can be found in the Start Menu just like Windows apps. They can even be pinned to the taskbar like regular apps.

