This article explains how to set up Personal Hotspot and use it with Instant Hotspot, along with information about how hotspots work and the requirements for using them. Instructions apply specifically to iOS 12 but should work with other recent iOS version as well.

How to set up a personal hotspot
1. Head to Settings > Cellular (or on other versions of English on an iPhone, Settings > Mobile Data). Alternatively, there’s a Personal Hotspot link directly below, which you can also tap.
2. Click on Personal Hotspot.
3. Switch on Allow Others to Join. This activates the hotspot. If you want to have the hotspot for your own private use only, enter a password in the Wi-Fi Password field, and keep it secret.
Note: Anyone logged into your iCloud account does not need to know the password. They can get access to the hotspot right away. Anyone outside the iCloud account needs the password for access. So don’t make the password easy to figure out.
Enable Instant Hotspot Using Continuity
With Instant Hotspot, the Personal Hotspot on your iPhone (or cellular iPad) shares online access to any Mac, iPhone, iPad, or iPod touch without entering the password.
First, verify that the iOS device you want to use as the hotspot is signed in to iCloud with the same Apple ID as the Mac or iOS device you want to provide internet access to. Each device will also need to have Bluetooth and Wi-Fi turned on.
Instant Hotspot requires the following:
- An iPhone 5 or newer running OS 8.1 or later
- An iPad (4th gen and newer)
- An iPad Pro, iPad Air, or iPad mini (all models)
You can use Instant Hotspot to connect to the above devices running at least iOS 8 as well as an iPod touch (5th generation) or newer. Macs running OS X Yosemite or later are also compatible.
1. To connect a Mac to the hotspot device, go to the menu bar, select Wi-Fi status, then choose the name of the iPhone or iPad providing the Personal Hotspot.

2. To connect an iPad, iPod touch, or another iPhone to the hotspot device, go to Settings > Wi-Fi, then tap the name of the iPhone or iPad providing the Personal Hotspot.

3. Your third device connects to the hotspot without having to enter the password.

Personal Hotspot Explained
Personal Hotspot is a feature of iOS that allows compatible iPhones share a cellular data connection with other nearby devices through Wi-Fi, Bluetooth, or USB. This feature is known as tethering.
When you use Personal Hotspot, your iPhone acts like a wireless router for the other devices, transmitting and receiving data for these devices. If you have the available data on your cellular plan, it’s an excellent alternative to using public Wi-Fi hotspots.
Personal Hotspot Requirements
To use Personal Hotspot on an iPhone, you’ll need:
- An iPhone running iOS 8 or later.
- A cellular-model iPad, with iPadOS 8 or later.
- A data plan that supports tethering or Personal Hotspot.
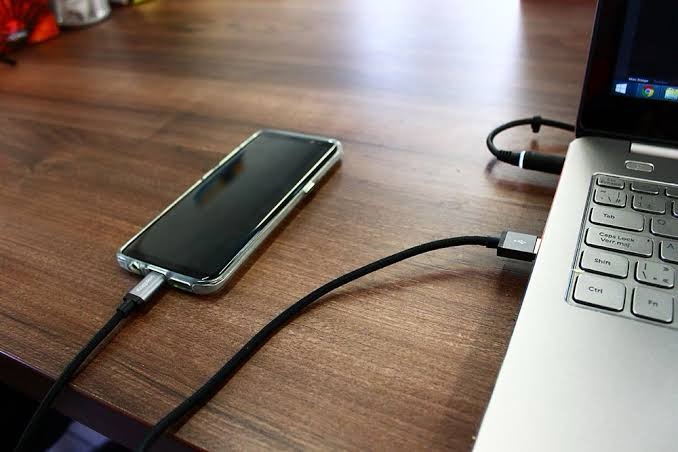
- A USB cable, if you want to connect devices that way.
Personal Hotspot Connection Established
Connecting other devices to your Personal Hotspot using Wi-Fi is easy. Tell the people who want to connect to turn on Wi-Fi on their devices and look for the name of your phone (as shown on the Personal Hotspot screen). They should select that network and enter the password shown on the Personal Hotspot screen on the iPhone.
How to Know When Devices Are Connected to Your Personal Hotspot
When other devices are connected to your iPhone hotspot, a blue bar appears at the top of the screen and on the lock screen. In iOS 7 and up, the blue bar shows a number next to a lock or an interlocking loops icon that indicates how many devices are connected to the phone.
Data Use with Personal Hotspot
Personal Hotspot uses data from your iPhone data plan. Unless you have an unlimited plan, your monthly data allowance could be used up quickly when streaming video or doing other bandwidth-intensive tasks.
All data used by devices connected to your iPhone counts against your data plan, so be careful if your data plan is small. Learn how to check your data usage so you don’t accidentally go over your limit.


