Taking screenshots on an iPad is simple and can be useful for saving information, sharing content, or keeping records. Here’s how you can capture a screenshot on your iPad:

Steps to Capture a Screenshot:
1. Press Buttons Simultaneously:
Press the Home button (if your iPad has one) and the Top button (Power button) simultaneously. These buttons are usually located on the front and top edges of the iPad.
2. Hear Shutter Sound (if sound is enabled):
After pressing the buttons, you should hear a camera shutter sound (if sound is turned on) to confirm that the screenshot was taken.
3. View Screenshot Thumbnail (Optional):
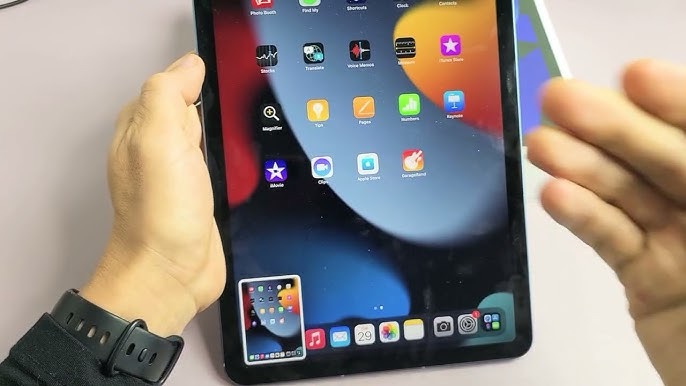
A thumbnail of the screenshot will briefly appear in the lower-left corner of the screen. Tapping on the thumbnail allows you to edit or share the screenshot immediately.
4. Access Saved Screenshots:
Your screenshots are saved in the Photos app under the Screenshots album, making them easily accessible for viewing, editing, or sharing.
Additional Tip:
- If your iPad doesn’t have a Home button (like newer iPad Pro models), you can capture a screenshot by pressing the Top button and the Volume Up button simultaneously.
In Conclusion, Capturing screenshots on your iPad is a quick and convenient way to save and share content from your device. Whether you need to capture important information or share content with others, knowing how to take a screenshot can be a handy feature. Feel free to snap away and store those memorable or essential moments on your iPad


