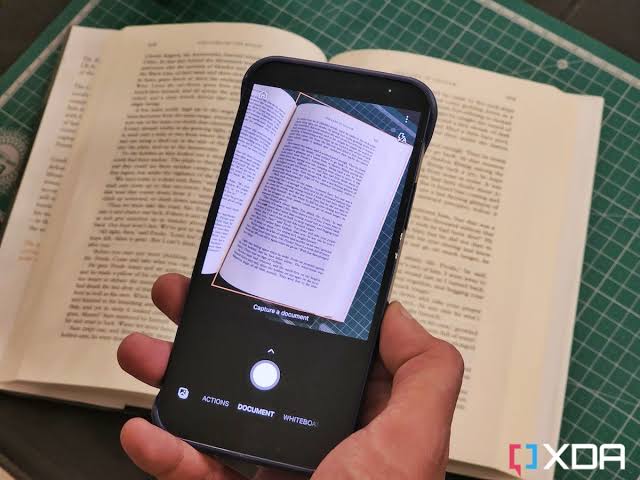
Scanning documents isn’t fun, but we all have to do it sometimes. Thankfully, using your Android device, you can quickly scan documents without any special equipment.

Next time you need to digitize a receipt for reimbursement, scan a government form so you can email it, or want to save business cards to your computer, here’s a simple guide covering how to scan documents on Android.
How Do You Scan With An Android Phone?
You need Google Drive installed to scan documents with Android. you can use to scan documents on Android devices – starting from the one pre-installed on your device. You can get these apps for free on the Play Store, and it’s quite easy to use them.
Google Drive
Google Drive is one of the quickest and easiest ways to scan documents on your Android phone. Google Drive is pre-installed on most Android phones, and it comes with a robust feature for scanning documents straight from your phone’s camera to a PDF file. What’s more, it also saves the scanned PDF file on your cloud storage, so you can view it anywhere, even when you don’t have your phone.
How to scan documents with Google Drive
1. Launch the Drive app on your device.
2. Tap the large + button in the bottom right
3. Select Scan on the pop-up menu. This should open your device’s camera.
4. Placing the paper you want to scan on a flat surface, point the camera to it and tap the shutter button with patience.
5. If the shot looks good mark it. If not – cancel and retake it.
6. You’ll see the scan preview on the next screen, with some buttons below it.
7. Tap the palate button if you wish to change the color.
8. Click on the orientation button to correct the orientation.
9. In case you want to adjust the scan area, tap the Crop button.
10. To scan another page, tap the + button in the bottom left of the screen.
11, Tap Save once you’re done with the documents to save it as a PDF file on your Drive.
How to Scan Documents Using Adobe Scan
Available scanner apps include Tiny Scanner, Genius Scan, TurboScan, Microsoft Office Lens, CamScanner, and more, but Adobe Scan has all the basics covered in its free version. It’s easy to navigate and use without much of a learning curve.
If you haven’t registered for a free Adobe ID, you will need to set one up to use this app.
Adobe Scan offers a paid in-app subscription to access additional features and options. However, the free version includes enough features to cover the needs of most users.
Follow these steps to scan documents with Adobe Scan:
1. Launch the app and log in with a Google, Facebook, or Adobe ID.
2. Tap the screen or the shutter button when you’re ready to scan the document. The app finds the borders and takes a picture for you.
3. Drag the handles to adjust the borders if necessary, then select Continue.
4. The app automatically takes more scans if necessary. If you don’t want to do that, tap the scan’s thumbnail to display the editing and saving options. Here, you can rotate it, crop it, change the color, and more. When you’re ready, tap Save PDF in the upper-right corner of the screen to save it.

Note: After you select Save to PDF, clicking the More icon displays options for the new file. You can choose to save it to Google Drive, copy it to your device, print it, delete it, and more.


