Connecting a PS3 controller to a PC allows you to use it for gaming or other purposes.

Here’s a step-by-step guide on how to connect a PS3 controller to a PC:
Step 1: Check Your Controller
Before you start, make sure that you have a PS3 controller that uses a USB connection. The wireless controllers will not work natively with a PC.
Step 2: USB Cable
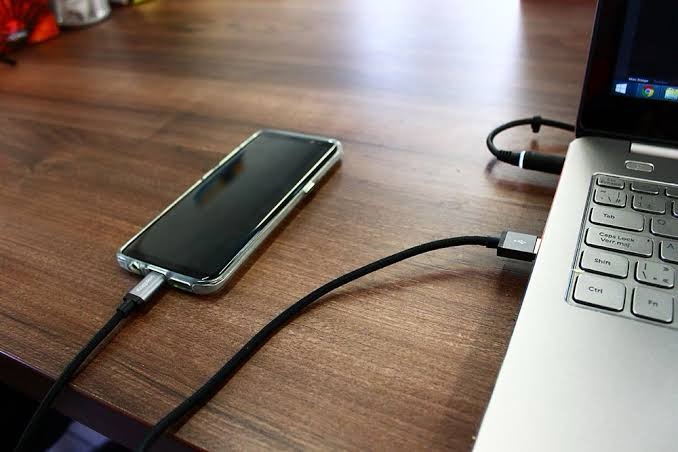
You’ll need a USB cable to connect the PS3 controller to your PC. If your PS3 controller didn’t come with one, you can use a Micro-USB cable (the same type used for many Android devices), which fits the controller’s charging port.
Step 3: Install the Required Software
To successfully connect and use a PS3 controller on your PC, you’ll need to install some software/drivers. One popular option is SCP Toolkit (ScpToolkit) which provides the necessary drivers and configuration utility.
Here’s how to install SCP Toolkit:
1. Download and run ScpToolkit Setup.exe. It should automatically download all of the other files it needs, so just follow all the prompts.
2. Click on the green “Code” button and select “Download ZIP” to download the software.
3. Extract the ZIP file to a folder on your PC.
4. Run the “ScpToolkit Driver Installer” application within the extracted folder.
5. Follow the on-screen instructions to install the required drivers.
Step 4: Connect and Configure the PS3 Controller
Now that you have the necessary software installed, it’s time to connect and configure the PS3 controller:
1. Connect the PS3 controller to your PC using the USB cable.
2. Wait for Windows to recognize the controller. It should be detected as a “PlayStation 3 Controller” in the “Devices and Printers” section of the Control Panel.
3. Open the ScpToolkit Driver Installer application. It should be available in the Start Menu or within the extracted folder.
4. In the application, check the box next to “Force Driver Installation” and click on “Install.”
5. Once the installation is complete, launch the “ScpToolkit Settings Manager” application from the Start Menu or within the extracted folder.
6. In the “Settings Manager,” you can configure controller mappings, sensitivity, and other options according to your preferences. Make any desired adjustments.
Step 5: Test the Controller
To ensure that the PS3 controller is working correctly on your PC, you can test it using various gamepads/testing applications or games that support gamepad input. Here are two common methods to test the functionality:
1. Use the built-in “Set Up USB Game Controllers” tool in Windows:
- Go to the Control Panel and search for “Set Up USB Game Controllers.”
- Open the tool and you should see your PS3 controller listed.
- Select the controller and click on “Properties” to test the buttons and joysticks.
- Use a third-party gamepad testing application:
- There are several software options available that allow you to test gamepad inputs, such as “DS4Windows” or “X360ce.”
- Download and install any of these applications, and they should detect your PS3 controller. You can then test the various inputs.
You should now have your PS3 controller connected and configured to work with your PC. Enjoy gaming or using it for other purposes!
If you encounter any issues during the setup process, it’s always a good idea to check the documentation and support forums for the specific software (SCP Toolkit) you’re using, as they may have troubleshooting guides or updates available.


