Controlling house lights with your iPhone can be accomplished through the use of smart home automation systems. There are various methods and devices you can employ to achieve this. Here’s a general guide on how to control your house lights using your iPhone:

Step 1: Set Up a Smart Lighting System:
To control your house lights with your iPhone, start by setting up a smart lighting system. There are popular options available, such as Philips Hue, Lutron Caséta, or Lifx, which provide smart light bulbs, switches, or hubs that can be integrated with your existing lighting setup.
Step 2: Connect Your Smart Lighting System to Your Home Network:
Follow the manufacturer’s instructions to connect the smart lighting system to your home Wi-Fi network. Typically, this involves connecting a hub or bridge to your router and then syncing the smart lights or switches to the hub.
Step 3: Download the Manufacturer’s App:
Once the smart lighting system is set up and connected to your home network, download and install the manufacturer’s app from the App Store. For example, if you’re using Philips Hue, download the Philips Hue app.
Step 4: Configure and Set Up Your Lights in the App:
Open the app and follow the instructions to configure and set up your lights. This usually involves creating rooms, assigning lights to specific rooms, and customizing settings such as brightness, color, or scenes.
Step 5: Pair the App with Your Smart Home System or Voice Assistant:
To control your lights using your iPhone, you can pair the smart lighting app with your smart home system or voice assistant such as Apple HomeKit, Amazon Alexa, Google Assistant, or Samsung SmartThings. This allows you to control the lights via voice commands or directly through the smart home system’s app.
Step 6: Control Your House Lights with Your iPhone:
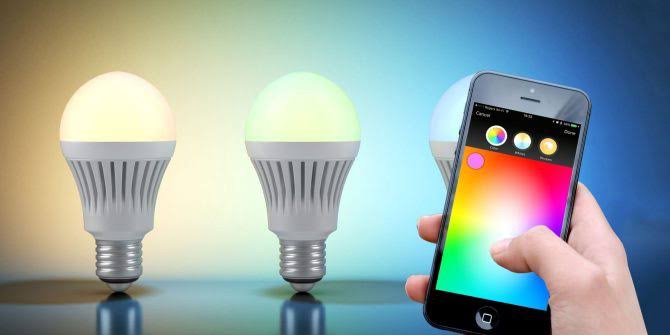
Once everything is set up and connected, you can control your house lights with your iPhone using the manufacturer’s app or the associated smart home system app. This usually involves opening the app, selecting the desired room or light, and adjusting settings, such as turning lights on or off, dimming or brightening, or changing colors (if applicable).
Step 7: Set Schedules and Automations:
To enhance convenience and energy efficiency, you can set schedules or automations within the smart lighting app. This allows you to automate the turning on or off of lights at specific times or based on triggers such as motion sensors or sunrise/sunset.
It’s important to note that the specific steps and features may vary depending on the brand and model of the smart lighting system you choose. Make sure to refer to the manufacturer’s instructions and support documentation for accurate and detailed guidance that is specific to your setup.
By utilizing a smart lighting system and integrating it with your iPhone, you can easily control your house lights, create customized lighting atmospheres, and enjoy the convenience of smart home automation.


